Have you just learned how to knit and now find that a pattern is asking you to continue in stockinette stitch or stocking stitch, but you’ve no idea what that is?
In this post, I share exactly how to knit stockinette stitch and some of the variations that you might come across.
This stitch is most often abbreviated in patterns as st st. You will find it called stockinette stitch or stocking stitch.
Along with the garter stitch, it’s the most commonly knitted stitch. So, as you can see, it’s important to know how to do it!
Don’t worry it’s not difficult once it is explained to you.
Composition of Stocking Stitch
If you are using straight needles then the stockinette stitch is made from one row of knit stitches ( the right side) followed by one row of purl stitches (the wrong side.)
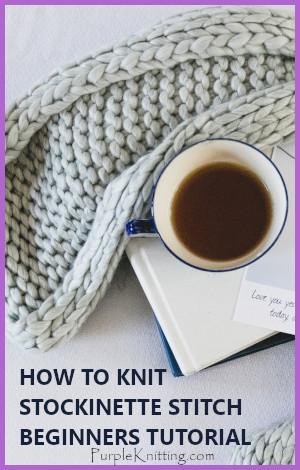
When you knit in this way, what you get on the right side of the work, is a fabric that looks like many little “v’s” and it has a smooth look to it. The wrong side, on the other hand, is made of raised curls or bumps.
When you are knitting in the round on a circular needle, you will only do knit stitches to get the same effect – ie smooth side facing you and bumps on the reverse wrong side.
Reverse Stocking Stitch
Sometimes I have seen patterns that call for reverse stockinette stitch, which means you have the wrong side now becoming the right side of your pattern. What happens then is that you get a more textured effect which gives a nice abstract look. Normally, the pattern will tell you how they are interpreting the right and wrong sides of the knitted work.
Supplies Needed to Practice the Stitch
As a beginner, it is better to use thicker knitting needles as they are more comfortable to hold. Choose a heavier weight of yarn to see the stitches you make more clearly. Bamboo does not cause the stitches to slip around too much as they do on metal or plastic needles.
With this suggestion in mind, I recommend that the following supplies are the best ones to practice with when you are just starting. If you have something different you can of course use them, it just might be a bit more tricky, if the needles are thin, and the yarn lighter too. I remember discovering the benefit of bigger needles at a young age!
- Pair of 7 mm bamboo needles
- Chunky knitting yarn – acrylic is cheaper, therefore better for practising
Watch the video
This video from Sheep and Stitch demonstrates the method
Summary of the Steps in the video
As shown in the video, you’ll need to cast on a small number of stitches on which to practice. For your first row, work a row of knit stitches all the way across. Turn, and now work a row of purl stitches.
As you continue in this way you will see that the right side of your work will become smooth and made up of little “v’s” and the reverse or wrong side is full of little curly bumps.
So, to summarize, for stocking stitch on 2 needles – knit the knit side and purl the wrong side
On circular needles, though it is a little different…. You only have one side facing you at all times. That will be the right side of your work and so you only do knitted rows.
So as you can see stockinette stitch is very easy. Knit the knit rows or right side and purl the reverse or wrong side. If you are using circular needles and knitting in the round then it’s knit stitches all the time.
Practice this stitch till it becomes second nature, as it’s one you will see used most often in patterns.
Now, how about trying to make something creative using your new skill with stocking stitch? This easy knitted cushion pattern uses both garter and stockinette stitches.


