Ok, so you have a pair of knitting needles and some yarn to practice with, now the next thing you need to do, when you first start knitting, is to learn how to make a slip knot in knitting.
This slip knot forms the first stitch that is placed on your needle. In this video tutorial you’ll learn exactly how to do this step-by-step. Watch the video a few times and you’ll soon get the hang of how it is done.
As the name slip knot suggests this is a way that your knitting is started and kept secure via the knot you make. It can be adjusted – slipped – to fit the size of needles you happen to be using.
Use Thicker Yarn & Needles
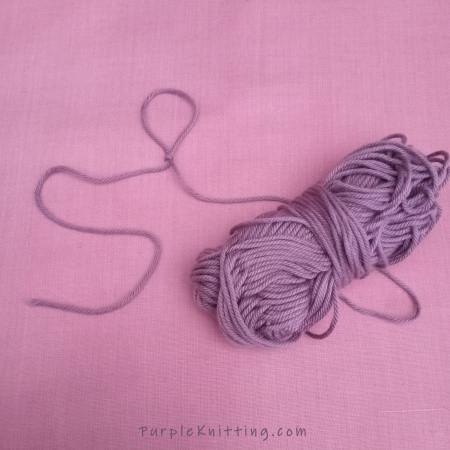
As a knitting beginner it is best to start with thicker yarn like a chunky weight and needles with a larger diameter as you’ll be better able to handle them. With chunky weight yarn you’ll get to see the formation of the stitches better which is beneficial when you first start out with the hobby. This is why I have recommended them in the “Supplies” section below – just makes it a bit easier.
Supplies Needed
6.5 mm Single Pointed Bamboo Knitting Needles
These are the only supplies you need at this stage – some thick yarn and matching knitting needles. Bamboo or wood is a good choice as this material has a bit of drag meaning that the stitches will not slip off the needles as easily as they might were you to use plastic, steel or aluminium. Also thicker needles are easier to hold than a thinner pair.
If you already have some needles and yarn that are different they will work, it just might be a little more fiddly for a beginner if they are thinner.
If you are going to buy yarn , it is suggested that you start off using an acrylic yarn as these brands are more likely to be inexpensive which is what you need when you’re new and just practising.
Watch the Video
Now, watch the video below from Sheep and Stitch which demonstrates the technique.
Here is a summary of the steps needed –
- Roughly measure out about 12 inches (30cm) of yarn
- Make a circular loop with the yarn by bringing one side over the other
- Make right hand into a fist then extend your thumb and forefinger to make the ALLIGATOR jaws
- Place alligator jaws into the centre of the loop you have just made, and grab hold of tail end of the yarn between thumb and forefinger
- With left hand get a hold of the yarn end that is attached to the ball, now pull down to finish the slip knot
- Now thread the knot you’ve made onto a needle and pull it to fit snuggly
So there you have it – an easy step by step method of making a slip knot. After practising a few times you will be able to do it without even thinking.
To progress to the next step of learning to knit you must be able to do this and it’s easy to do when you’re shown how.
Next Step After Making a Slip Knot is to Cast on Stitches – Find out How HERE


